Assign Tag
Instructions for adding tags in the bot using the "Assign Tag" block. Assigning tags in scenario
Tag is a label for a user.
Information
Previously, tags were inside "Simple Message" and "Message Chain" blocks. Now there is a special "Assign Tag" block.
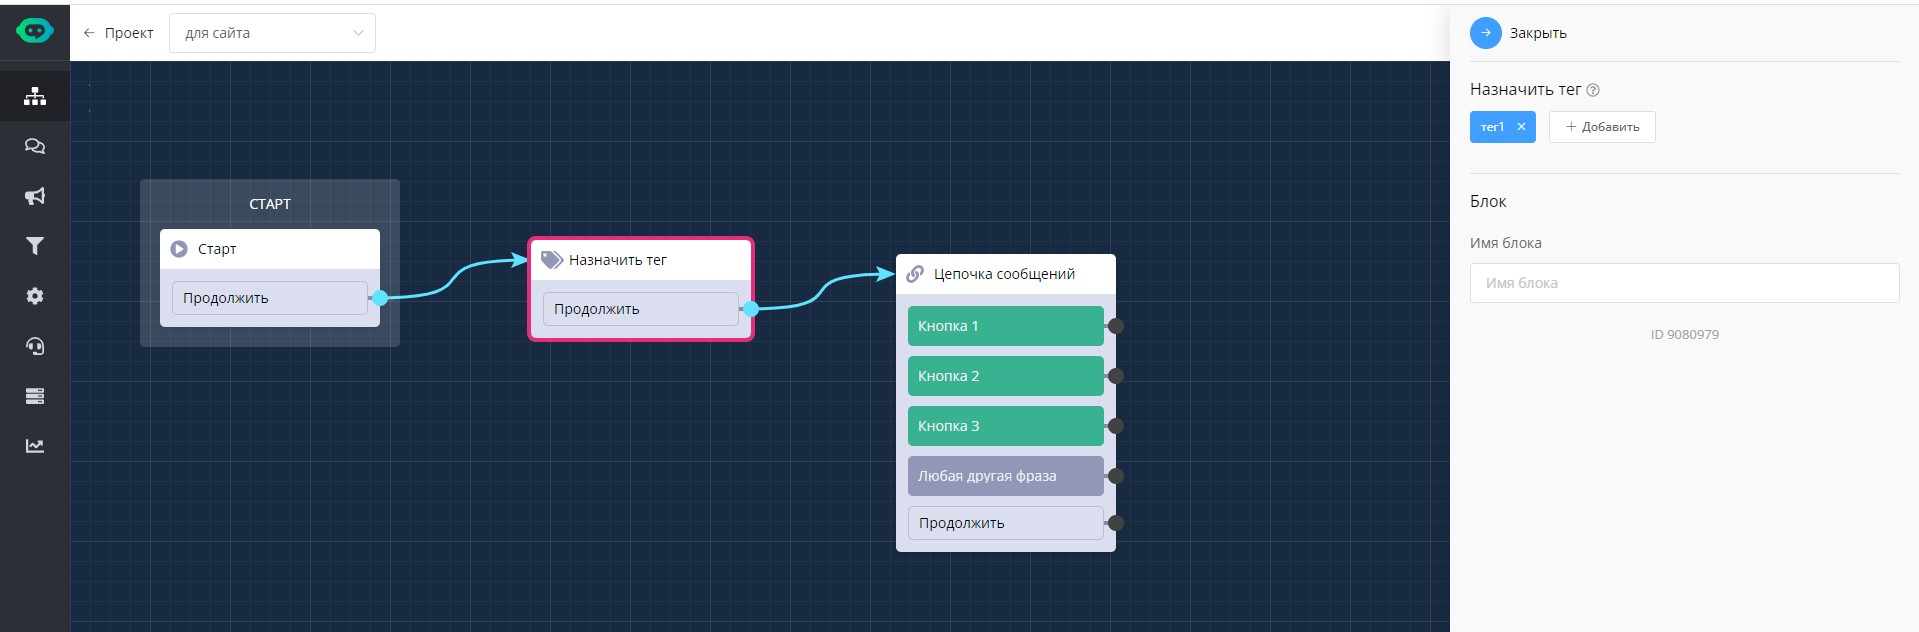
"Assign Tag" block in scenario
The "Assign Tag" block can be placed immediately after the "Start" block before the first message block, so that the user is tagged when they see the first message in the bot.
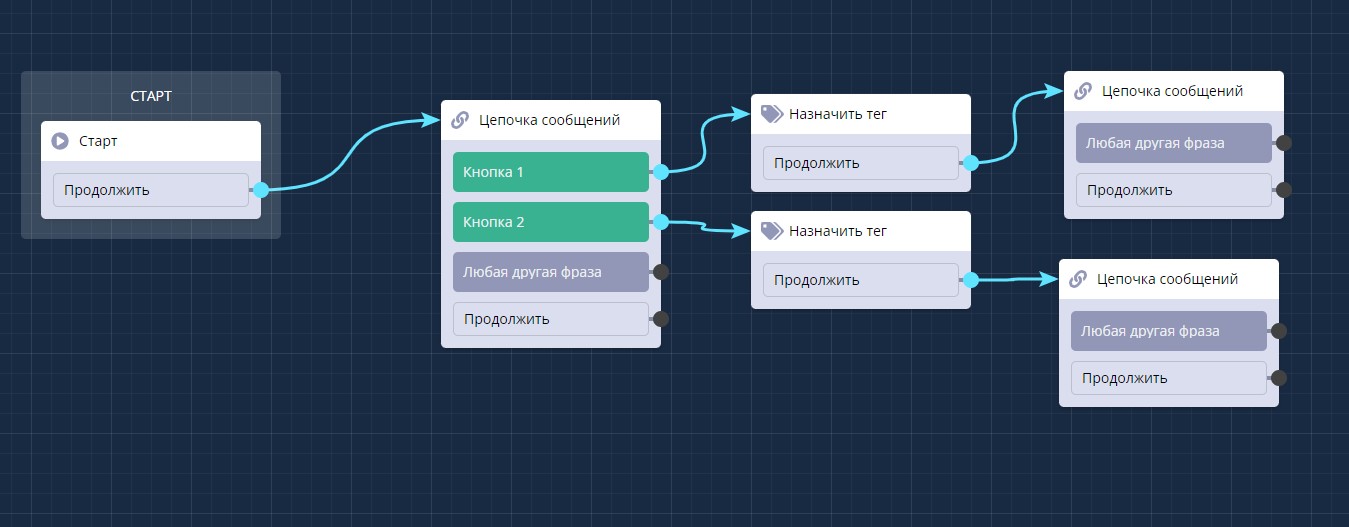
Also, the block can be placed after a button or "any other phrase", so that the user is tagged with one or another tag, choosing an answer or sending free text.
Assigning tags in scenario
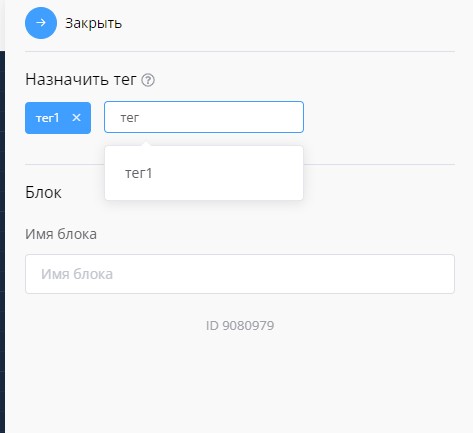
To create a new tag, click on the "Assign Tag" block, in the right window click "Add", enter the tag (tags with lowercase and uppercase letters are different tags), press "Enter" so that the tag appears in blue. Subsequently, simply click "Add" and previously created tags will appear.
Important
IMPORTANT! If you have many created tags, after clicking "Add", enter the letter with which the tag begins, so that it appears in the suggestions.
You can add multiple tags in one "Assign Tag" block.
To delete a tag, click the cross next to the tag name.
Each branch in the bot can have its own blocks with tags to mark users with different labels, regardless of whether they end up in the same block or different ones.
"Assign Tag" block in scenario
🎁 Free course on chat bot and MiniApp development for all users with active PRO subscription is already available on LEADTEX.
10 detailed lessons with immersion from A to Z.
Start learning right now - Start learning.