amoCRM
Bot integration with amoCRM. Step-by-step setup of integration with AmoCRM
How to Integrate Chat Bot with AmoCRM
1. Installing Widget in amoCRM
Open your personal account amoCRM, then go to Settings > Integrations and install the LEADTEX widget (in the Online chats section). LEADTEX widget
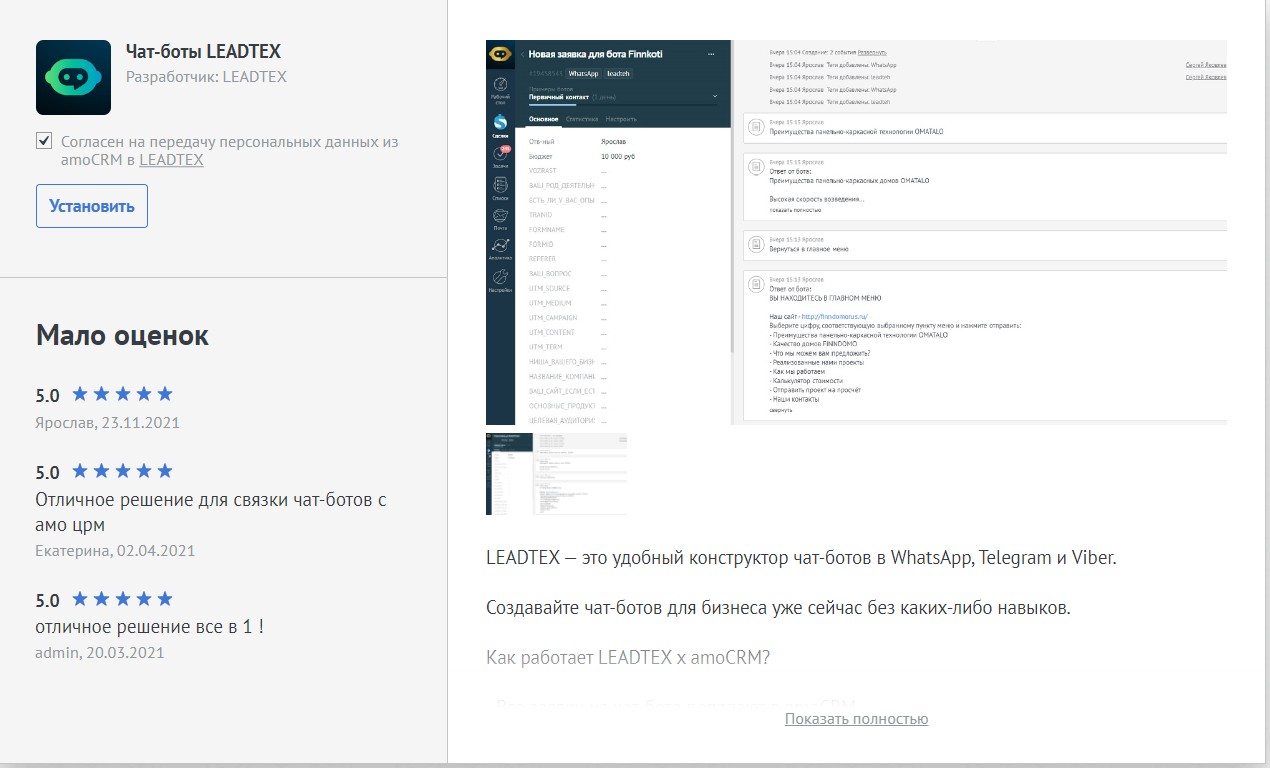
Installing widget in amoCRM
After installation, check the box "By installing the widget, you consent to the transfer of data from your amoCRM account to the LEADTEX service" and click "Save".
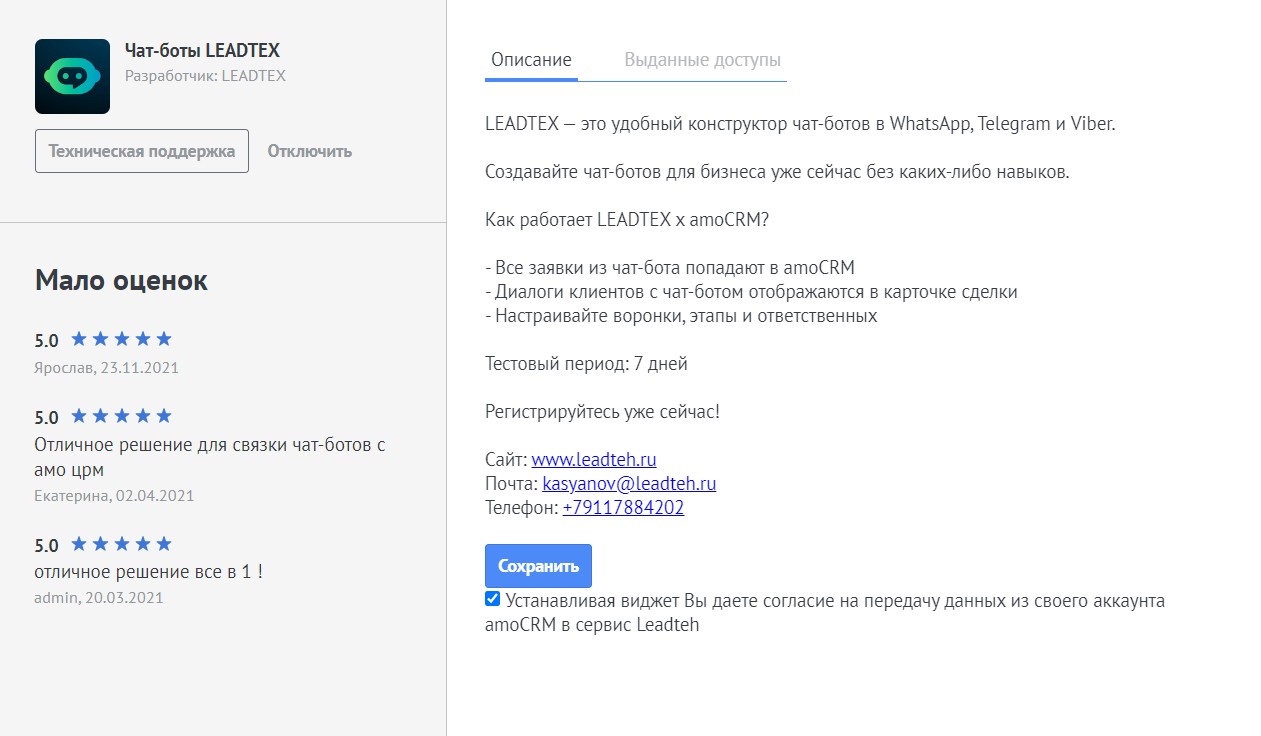
Installing widget in amoCRM
2. Integration Setup
Now for integration, just click the "Link New amoCRM Account" button and in the pop-up window allow the LEADTEX application access to your amoCRM account.
.png)
amoCRM Integration Setup
.png)
amoCRM Integration Setup
3. Funnel, Stage, Responsible
Go to the Settings tab, where you can select the responsible person for new deals, as well as specify the funnel and stage where new deals will go.
The funnel must be any, except "Unsorted".
When creating deals, you can configure task creation. Tasks are assigned to the person responsible for the deal.
You can also configure deal creation for each client application in LEADTEX.
.png)
Funnel, funnel stages and responsible persons setup
4. Bot Disabling
If you want to use the amoCRM widget only for correspondence with clients, disable the bot in settings, in the Additional section.
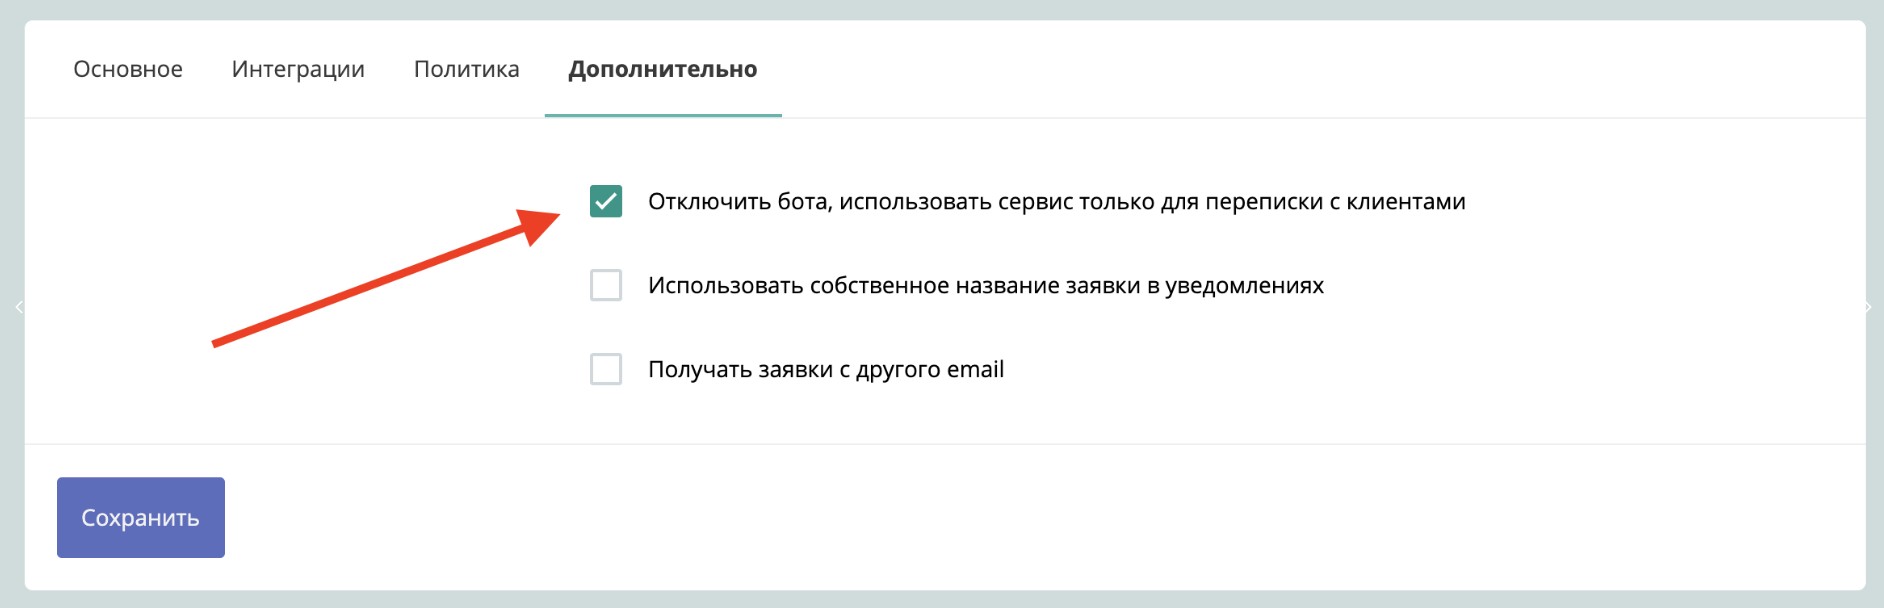
Bot Disabling
5. Features
- To create a user card on the Amo side, the application block with Amo data recording enabled must go immediately after the "Start" block
- In Amo, it is impossible to write to the client first
- It is possible to work with multiple Amo users at once
Bonus for new users and the opportunity to get 500 rubles in points as a gift 🎁
- Register on LEADTEX
- Create and test your first project
- Don't miss the special offer. Get a gift 👈